
Expert Tips for Quality Tile Installation Success
- babis1084
- Nov 26, 2025
- 4 min read
Tile installation can transform a space, adding beauty and functionality. However, achieving a flawless finish requires careful planning, the right tools, and expert techniques. In this guide, we will explore essential tips to ensure your tile installation is successful, whether you are a DIY enthusiast or a seasoned professional.

Understanding the Basics of Tile Installation
Before diving into the installation process, it’s crucial to understand the different types of tiles available. Each type has unique properties that can affect your project.
Types of Tiles
Ceramic Tiles: Durable and versatile, ceramic tiles are ideal for walls and floors. They come in various colors and patterns, making them a popular choice for many homeowners.
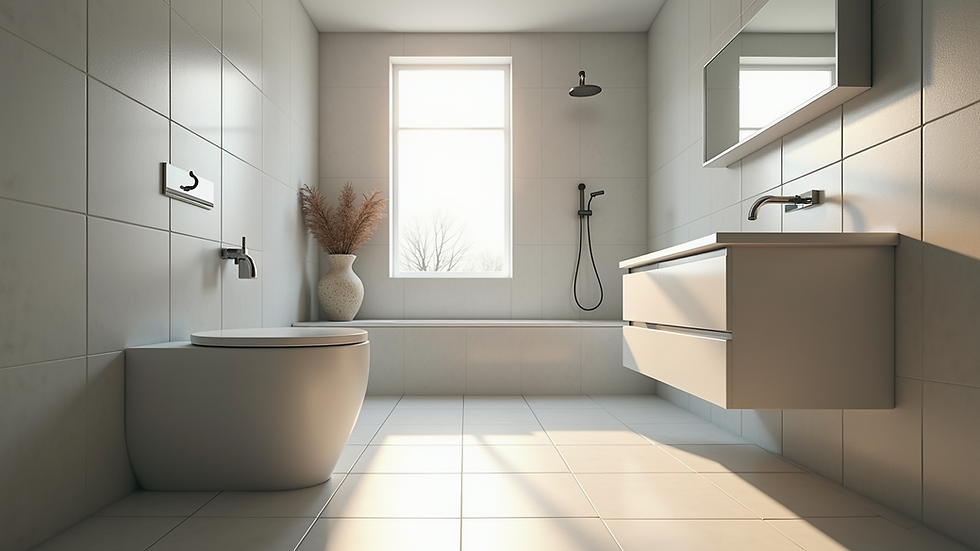
Porcelain Tiles: Known for their strength and water resistance, porcelain tiles are suitable for high-traffic areas and wet environments like bathrooms and kitchens.
Natural Stone Tiles: Options like granite, marble, and slate offer a luxurious look but require more maintenance. They are perfect for creating elegant spaces.
Glass Tiles: Often used as accents or backsplashes, glass tiles can add a modern touch to any room. They reflect light beautifully but can be more challenging to install.
Tools and Materials Needed
Having the right tools is essential for a successful tile installation. Here’s a list of what you’ll need:
Tile Cutter: For cutting tiles to fit your space.
Trowel: A notched trowel helps spread adhesive evenly.
Level: Ensures your tiles are installed evenly.
Spacers: Maintain consistent gaps between tiles for grout.
Grout: Fills the spaces between tiles and adds a finished look.
Sealer: Protects natural stone tiles from stains and moisture.
Preparing for Installation
Preparation is key to a successful tile installation. Follow these steps to ensure your project runs smoothly.
1. Choose the Right Location
Select the area where you want to install tiles. Consider factors like moisture levels, foot traffic, and aesthetics. For example, porcelain tiles are excellent for high-moisture areas, while ceramic tiles work well in living rooms.
2. Prepare the Subfloor
A solid, clean subfloor is crucial for tile installation. Ensure the surface is level and free from debris. If necessary, use a self-leveling compound to create a smooth base.
3. Plan Your Layout
Before starting, plan your tile layout. Measure the area and mark guidelines on the floor to ensure straight lines. Dry-lay a few tiles to visualize the final look and make adjustments as needed.
The Installation Process
Now that you’re prepared, it’s time to start installing your tiles. Follow these steps for a successful installation.
1. Apply Adhesive
Using your notched trowel, spread adhesive on a small section of the subfloor. Work in manageable areas to prevent the adhesive from drying out before you place the tiles.
2. Place the Tiles
Begin laying tiles from the center of the room or a designated starting point. Press each tile firmly into the adhesive, using spacers to maintain even gaps. Check for level as you go, adjusting as necessary.
3. Cut Tiles as Needed
When you reach the edges of the room, you may need to cut tiles to fit. Use a tile cutter for straight cuts and a wet saw for intricate shapes. Always wear safety goggles when cutting tiles.
4. Allow Adhesive to Cure
Once all tiles are laid, allow the adhesive to cure according to the manufacturer’s instructions. This usually takes 24 hours.
Grouting the Tiles
After the adhesive has cured, it’s time to grout the tiles. This step is essential for both aesthetics and durability.
1. Mix the Grout
Follow the manufacturer’s instructions to mix the grout. Aim for a smooth, peanut butter-like consistency.
2. Apply the Grout
Using a grout float, spread the grout over the tiles, pressing it into the gaps. Work in small sections to ensure the grout doesn’t dry out before you finish.
3. Clean Excess Grout
After applying the grout, use a damp sponge to wipe away excess from the tile surfaces. Be careful not to remove grout from the joints.
4. Allow Grout to Cure
Let the grout cure for the recommended time, usually 24 to 48 hours. After curing, apply a sealer to protect the grout from stains and moisture.
Maintaining Your Tile Installation
Once your tiles are installed, proper maintenance will keep them looking great for years to come.
Regular Cleaning
Sweep or Vacuum: Remove dirt and debris regularly to prevent scratches.
Mop with Mild Detergent: Use a pH-neutral cleaner to avoid damaging the tiles.
Avoid Harsh Chemicals: Stay away from abrasive cleaners that can scratch or dull the surface.
Inspect for Damage
Regularly check for cracked tiles or loose grout. Addressing these issues promptly can prevent more extensive damage.
Common Mistakes to Avoid
Even experienced installers can make mistakes. Here are some common pitfalls to watch out for:
Skipping the Layout: Failing to plan your layout can lead to uneven tiles and wasted materials.
Using the Wrong Adhesive: Ensure you choose an adhesive suitable for your tile type and installation area.
Neglecting Expansion Joints: In larger areas, expansion joints are necessary to allow for movement and prevent cracking.
Conclusion
Quality tile installation is an art that combines preparation, technique, and maintenance. By following these expert tips, you can achieve a beautiful and durable tile surface that enhances your space. Remember to take your time, plan carefully, and enjoy the process. Happy tiling!

Comments